Need to Know :
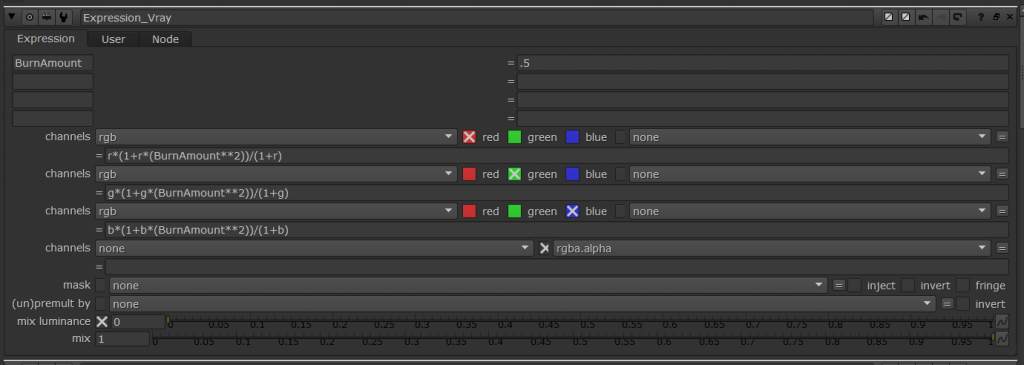
As it currently stands only Nuke & Fusion can add post color corrections (also know as Tone Mapping) correctly. Photoshop and After Effects require addition plug-ins. This means if you are doing Animations you can keep your animation/Image Linear, if your doing stills you will need to save your correction out of the V-Ray Frame buffer or use separate render channels option in Vray (this will save/bake your correction) but you are saving the highlight burn into the file.Here are some plugin you can upgrade Photoshop & After Effects.
Arion FX – http://www.randomcontrol.com/-for-photoshop
Photomatix – https://www.hdrsoft.com/download/pluginwin.html
- Image >Adjustments >HDR Toning
- Copy setting above (I’ll keep working on these)
- Tone Curve and HistogramFirst point: 0, 0
- Second: 27, 23
- Third: 89, 90
- Fourth 100, 93